I didn’t know if I should blog the following – because stuff like this is usually shared on internet forums, but since I’d been writing about this before – and not only once – I thought about sharing it with you on my blog. Besides, I don’t do forums for various reasons.
the stupid Leatherman sheath
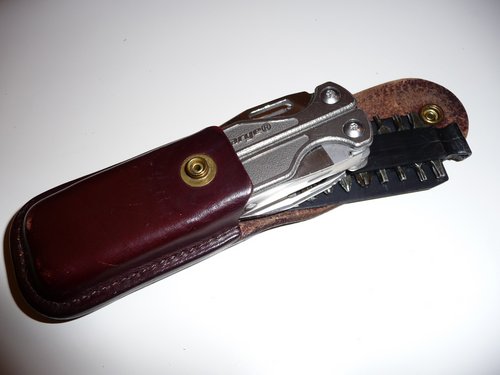
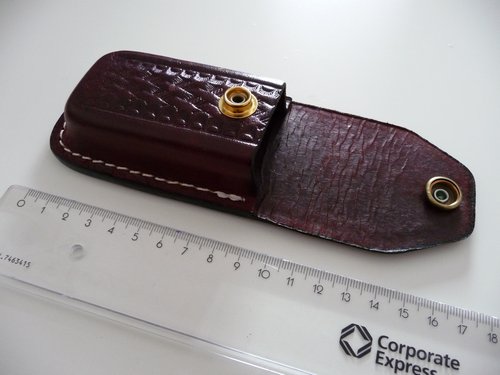
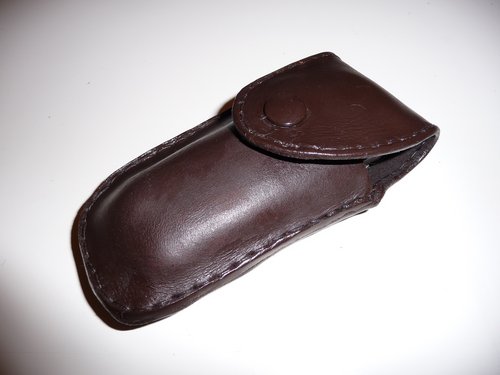
Some month ago, I bought a Leatherman Charge TTi multitool which came with a very bad leather sheath. The famous inventor of multitools once produced very fine leather sheaths, like the beautiful brown one that came with my first Leatherman Wave in 2003. But for some stupid and unknown (marketing?) reasons, their current sheaths (since 2004, actually) are either bulky, ugly or too stiff – and also do not really offer the space required for a Leatherman Charge TTi (or Wave 2004) and its bitholder. Everything fits inside but it takes a lot of force to pull the bitholder out. There’s a hole at the bottom of the sheath which is supposed to be good + so that you can rest the opened tool inside the sheath. I’ve never used this though, and also don’t like it that much.
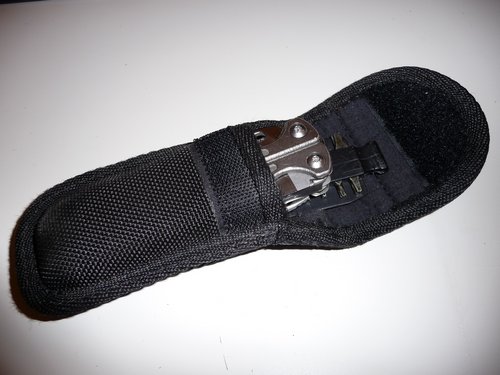
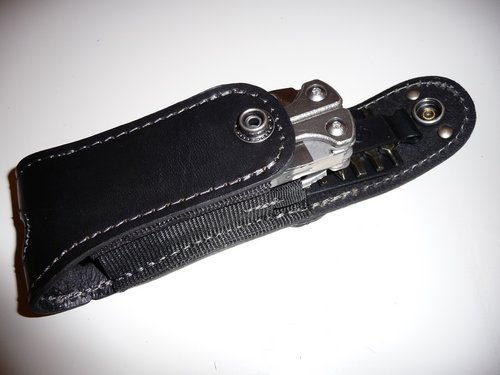
SCHRADE TOOL, nylon alternative sheath (good, used this all the time)
Leatherman Charge TTI within the Leatherman Wave (I) sheath from 2003.
Tool fits, but + bitholder doesn’t :-(
I may not be the only one with this problem, and have in the past used a variety of other sheaths to tackle this problem (tool & bitholder in one place, see SCHRADE TOOL nylon sheath pictured above). There seems to be a market for customized solutions, and while I am sure I could easily get a modified sheath in the US or even Kenya, I just couldn’t find a good sheath in Germany (locally or imported), so I had to make my own. This time I wanted to make a sheath out of leather.
Bought this one (Victorinox L sheath) from eBay which unfortunately is too short.
Now, I don’t know much about leather and do not even own many leather products. Shoes, belts and a pouch/sheath (made from artificial leather) that came shipped with my phone. But still, there’s some sort of magic to this material that will make you want to create something out of it. I was told that my great great great grandparents once owned a tannery, so maybe it’s somewhere in the genes. Sijui.
First step was to surf around and check various online resources for inspirations. I actually already knew what I wanted to build – my first Leatherman Wave sheath from 2003 had set the standard for me. I wanted something like this…. but only bigger.
Next step: leather. Found a very nice & cheap offer for leather stripes (2-3 mm thickness) on eBay, which was exactly what I was looking for.

Ok, now how do I get this material into shape? Does it really require to be formed into shape? And when does this need to be done? Prior to or after sewing the parts together?
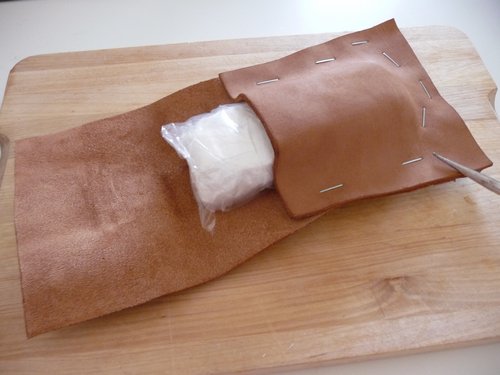
Sometimes you just have to do things your way. If it feels right, do it. So i dampened the leather, sealed the knife and bitholer in a plastic bag and placed it inside the leather which I then pressed into shape. Placed all of it on the heating in the bathroom and waited for it to dry up. Oh, and I used a stapler to hold it all together.

Next morning: leather is dried up and in shape. Great!
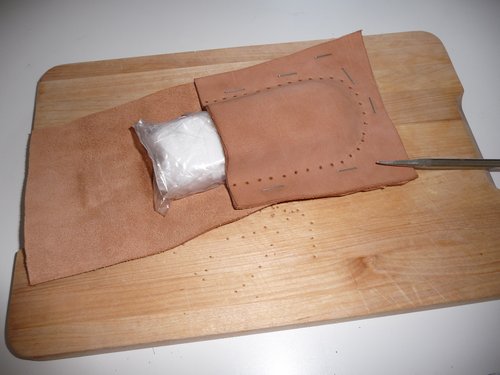
Next step: holes. Lots of them. I think there’s a wheel to mark the correct pitch between the holes, but since I do not own such an advanced tool, I just marked everything by rule of thumb and punched holes with an awl.
front
back
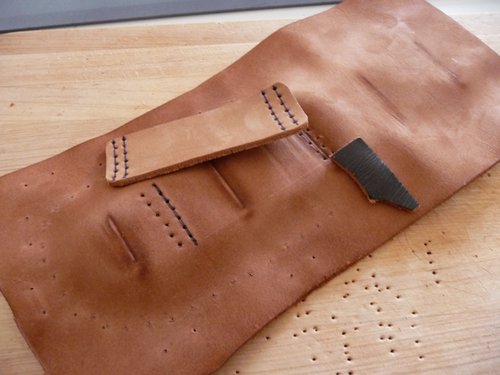
After the first stitches with special leather yarn, I realized that the one I used is too thin (2x, left), so I went for the only thicker one I had (3x, right).
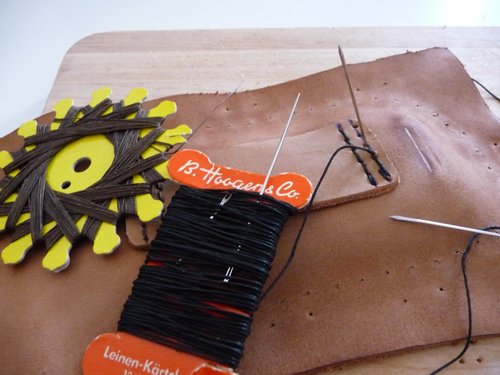
I may not be a professional and my seams may show that I am a bloody beginner, but at least I am using two needles.
stitching on the left: too thin

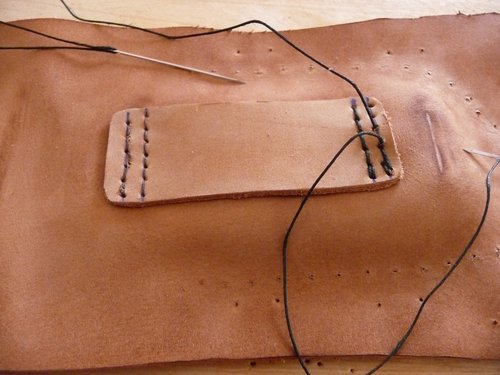
both sides
next up: the main seam
big & small, wondering about the design

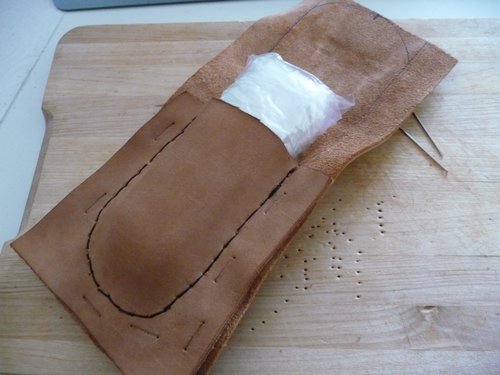
slowly getting there
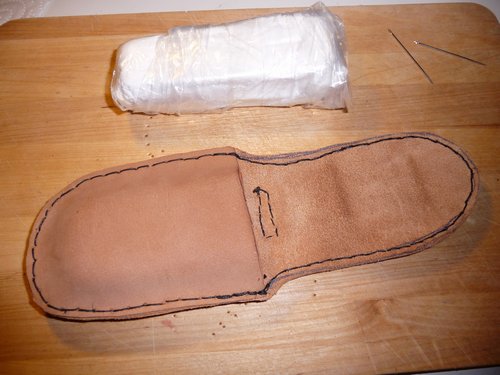
Almost done. The white package contains the Leatherman Charge TTi + the bitholder.
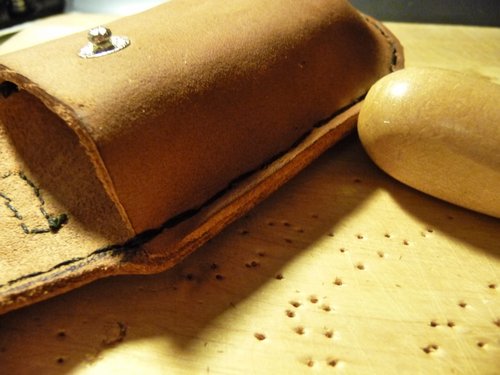
I then dampened the leather again and used the wodden knob to flatten the edges of the leather. Again, I am no expert and maybe there’s a proper way for doing this, but I just looked at the old sheath and realized it had to work out somehow. Well, it did. Edges are smoothened now and quite shiny. Nice!
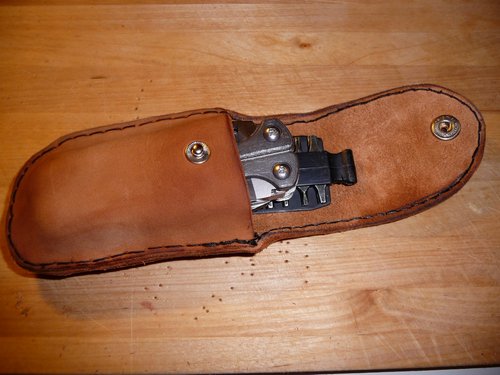
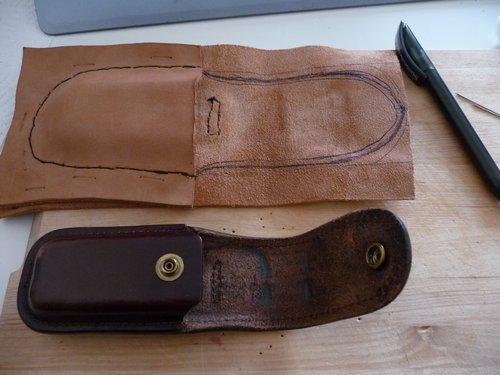
new sheath
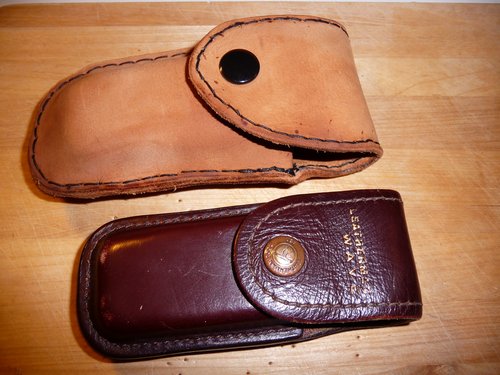
new and old sheath
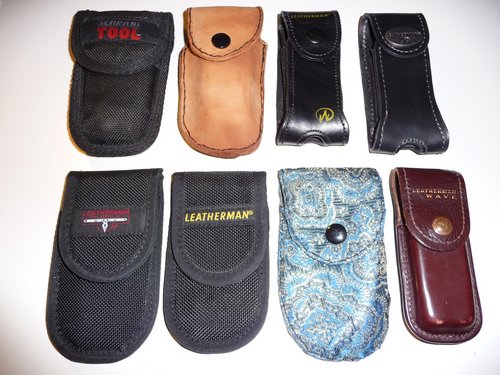
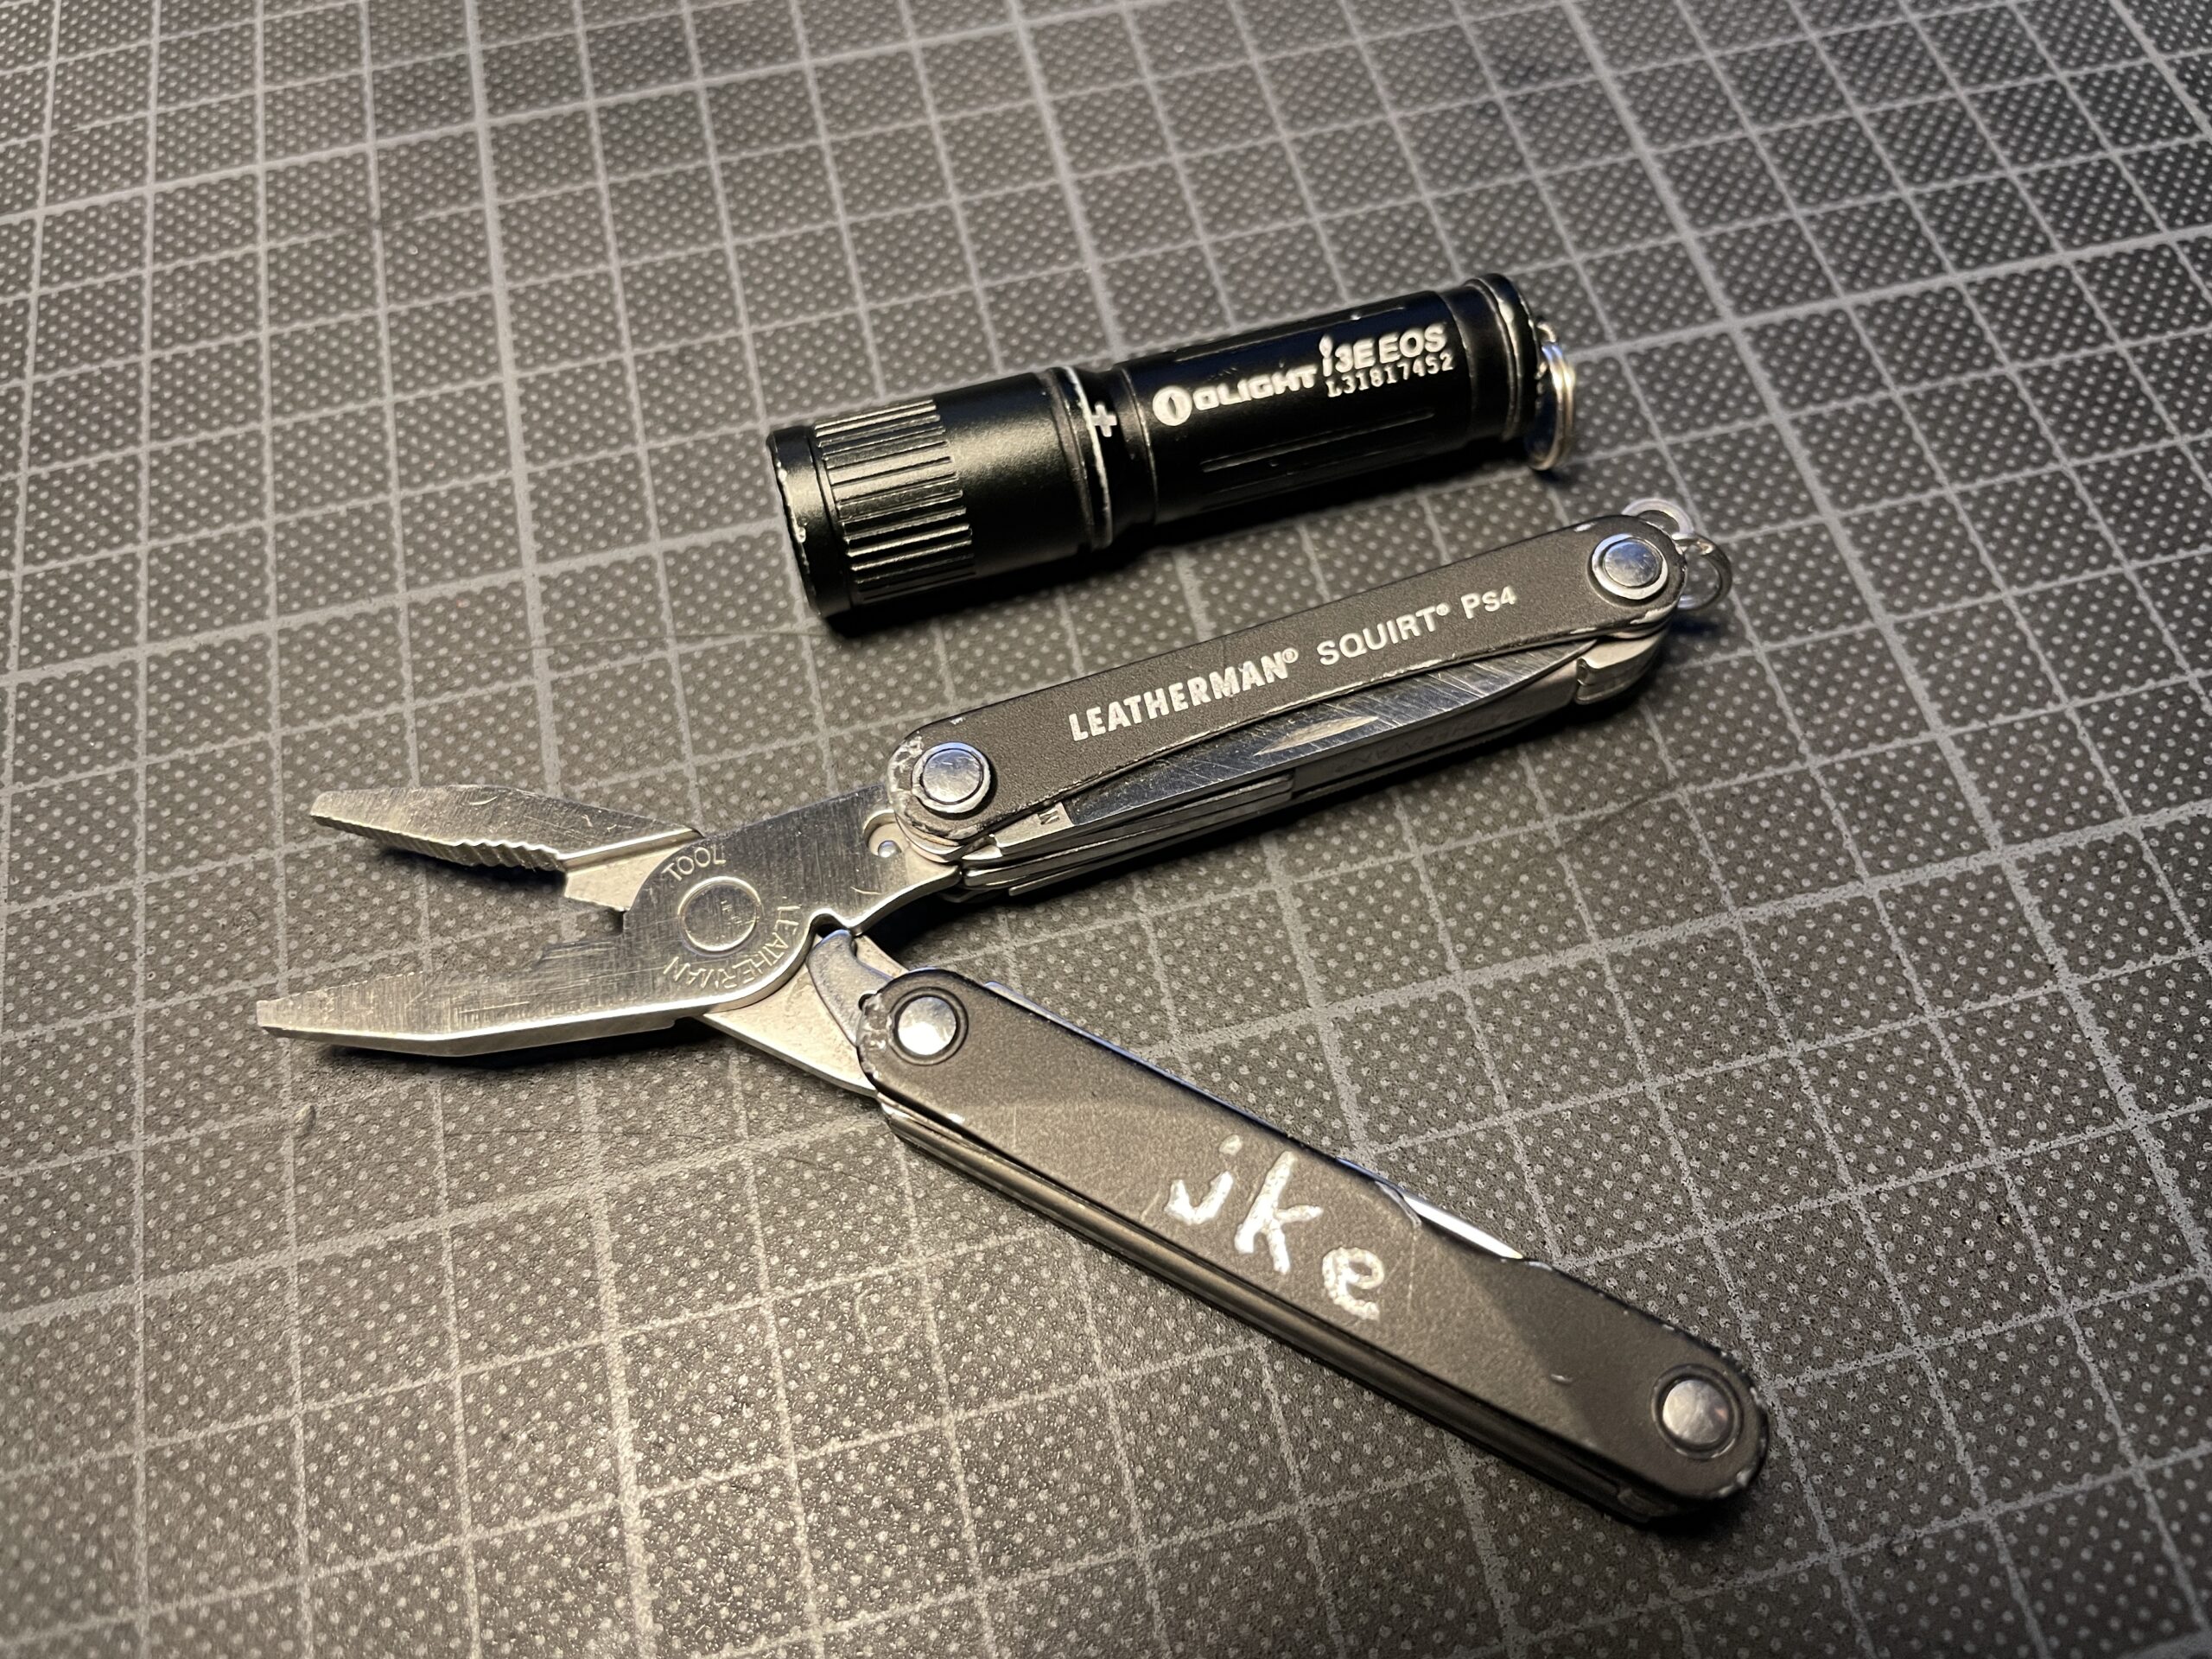
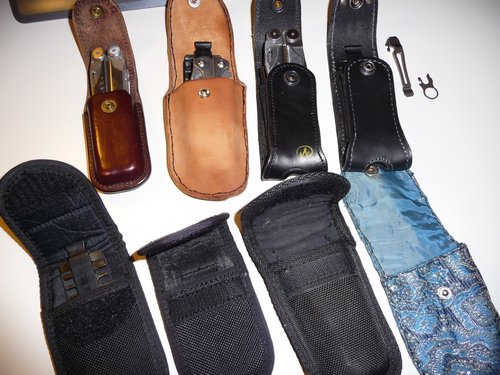
The complete collection: opened and closed.
You may note the nylon sheaths. These are also fine but (except for the SCHRADE TOOL sheath) only accommodate the tool itself, not the bitholder. Again, I don’t know why Leatherman does not produce proper sheaths. Something like the dark brown sheath (which imo is the best) from 2003, but bigger. You will also notice my beginner’s style and how dumb my own sheaths (noticed the blue one? :-) actually look when compared to the professional solutions.
One possible solution would probably have been to further apply some wax on the new sheath and darken it. Well, I polished it with some special leather wax, but also applied this dark brown (imo a bit too dark, damn..) leather colour onto it. Looks ok, but I also know what to improve on next time. Ah well… as long as it works it is ok. I really wish someone would seriously teach me a few tricks though, like how to get straight seams. For this, however, I would probably also require a table for my tools and a bench vice.

Working with leather is a fascinating experience!
(Wenn ich nochmal 20 wäre, würde ich mich nach einer Lehre als Sattler/Feintäschner/etc. umschauen. Bin ich aber nicht mehr und habe auch schon eine Lehre hinter mir, das reicht. Als Abendkurs in der VHS wäre eine Fortbildung in Lederarbeiten aber sehr interessant – auch wenn ich im Moment keinen weiteren Einsatzzweck für Lederprodukte habe. Nach dieser Arbeit kann ich aber sehr gut verstehen, wieso es anscheinend ziemlich viele Leute da draußen gibt, die in ihrer Freizeit Leder punzieren (= mitm Hammer Muster ins Leder treiben) und/oder ihren Indianer/Rocker/SM/whatever-Trieb damit ausleben. Is aber alles nich so mein Ding, will ja nur ein passendes Lederetui für meinen Leatherman haben. Ich vermute übrigens, dass man durch versenkte Nähte (Rille ins Leder treiben) und den Einsatz von Stecheisen schon geradere Nähte hinbekommen würde, aber das hebe ich mir fürs nächste Mal auf. Das nächste Produkt aus den verbliebenen Lederresten werde ich aber nicht mehr anmalen, oder zumindest nicht mit so einer dunklen Farbe, auch wenn das jetzt nur auf den Bildern im Blitzlicht so schlimm ausschaut..).